
Mastering Advanced Real Estate Photography Techniques
- dhartboy
- Oct 20
- 3 min read
Real estate photography demands precision and skill. To stand out, you must master advanced techniques that highlight properties effectively. This post covers practical methods to improve your shots and deliver images that attract buyers and clients. Use these tips to elevate your work and meet the high standards expected in South Texas real estate markets.
Understanding Advanced Real Estate Techniques
Advanced real estate techniques go beyond basic photography. They involve using specialized equipment, mastering lighting, and applying post-processing skills. These methods help showcase properties in the best light and create images that sell.
Start with your gear. Use a wide-angle lens to capture entire rooms. A tripod stabilizes your camera for sharp images. Consider a drone for aerial shots that reveal property size and surroundings. These tools add value to your portfolio.
Lighting is crucial. Use natural light when possible. Shoot during the day, preferably in the morning or late afternoon, to avoid harsh shadows. Supplement with artificial lights to brighten dark corners. Balance indoor and outdoor light to maintain color accuracy.
Composition matters. Use the rule of thirds to place key elements off-center. Highlight unique features like fireplaces, kitchens, or views. Keep lines straight and avoid distortion by leveling your camera.
Post-processing enhances your photos. Adjust brightness, contrast, and sharpness. Correct lens distortion and remove minor imperfections. Avoid over-editing to keep images realistic.

Essential Equipment for Advanced Real Estate Photography Techniques
Invest in quality equipment to improve your results. Here are the essentials:
Camera: A DSLR or mirrorless camera with manual settings.
Wide-angle lens: 14-24mm or 16-35mm for full room coverage.
Tripod: Ensures stability and sharpness.
External flash or LED panels: For balanced lighting.
Remote shutter release: Prevents camera shake.
Drone: For aerial shots and unique perspectives.
Use a bubble level on your tripod to keep shots straight. Carry extra batteries and memory cards to avoid interruptions.
Test your gear before shoots. Familiarize yourself with settings like aperture, ISO, and shutter speed. Use a low ISO (100-400) to reduce noise. Set aperture between f/8 and f/11 for sharpness throughout the frame.

How to Get Crisp Real Estate Photos?
Sharp images are essential in real estate photography. Follow these steps to get crisp photos:
Use a tripod: This eliminates blur caused by hand movement.
Focus carefully: Use autofocus points or manual focus on key areas.
Select the right aperture: Use f/8 to f/11 for depth of field and sharpness.
Use a remote shutter or timer: Avoid shaking the camera when pressing the button.
Check shutter speed: Use a speed fast enough to prevent motion blur, especially if handheld.
Clean your lens: Dust or smudges reduce clarity.
Shoot in RAW: This format retains more detail for editing.
Review images on a large screen to check sharpness. Reshoot if necessary. Consistent crispness builds trust with clients.
Composition and Framing Tips for Real Estate Photography
Good composition guides the viewer’s eye and highlights property features. Use these tips:
Straight lines: Keep vertical and horizontal lines straight to avoid distortion.
Rule of thirds: Place important elements off-center for balance.
Leading lines: Use hallways, counters, or furniture to draw attention.
Declutter: Remove unnecessary items to keep focus on the space.
Shoot from corners: This shows more of the room and creates depth.
Include context: Show outdoor views or connecting rooms for a complete picture.
Avoid wide-angle distortion by leveling your camera and correcting in post-processing. Use natural light to enhance colors and textures.

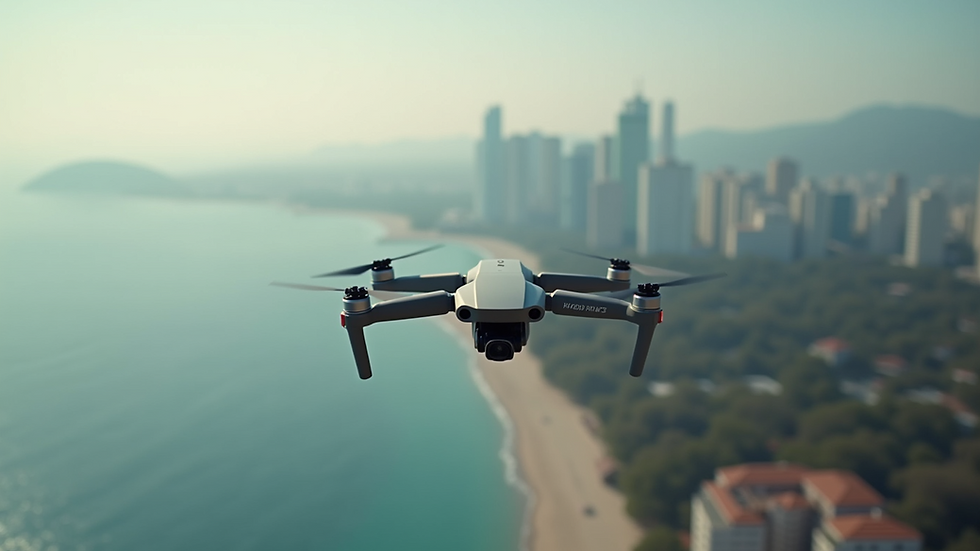
Leveraging Drone Photography for Commercial and Real Estate Projects
Drones offer unique perspectives that traditional photography cannot. Use drones to capture:
Aerial views: Show property size, landscaping, and surroundings.
Neighborhood context: Highlight proximity to amenities or infrastructure.
Roof conditions: Useful for inspections and marketing.
Commercial properties: Showcase large buildings and parking areas.
Follow local regulations for drone use in South Texas. Plan flights for good weather and lighting. Use drones with high-resolution cameras for clear images.
Combine drone shots with interior photos for a comprehensive portfolio. This approach appeals to commercial clients and infrastructure professionals.
Final Thoughts on Enhancing Your Real Estate Photography
Mastering advanced real estate photography techniques requires practice and attention to detail. Use the right equipment, focus on lighting and composition, and ensure your images are sharp. Incorporate drone photography to add value and stand out in the competitive South Texas market.
For more detailed guidance on real estate photography techniques, explore specialized resources and training. Consistent quality and innovation will help you become a leader in real estate and commercial photography services.
Apply these strategies to your next project and watch your portfolio grow.


Comments